
 |
| L to R: Tory Burch, Marc by Marc Jacobs, L.A.M.B., Ralph Lauren |
When I was a kid my mom always called these Dickies. I did a little search and found that most sites only refer to the turtleneck version as Dickies. The word makes me laugh and in homage to Mom I used Dickie in the title of my post.
Supply List
- Blouse or shirt with an interesting collar
- Scissors
- Pins or a washable fabric pencil
- Ruler or measuring tape

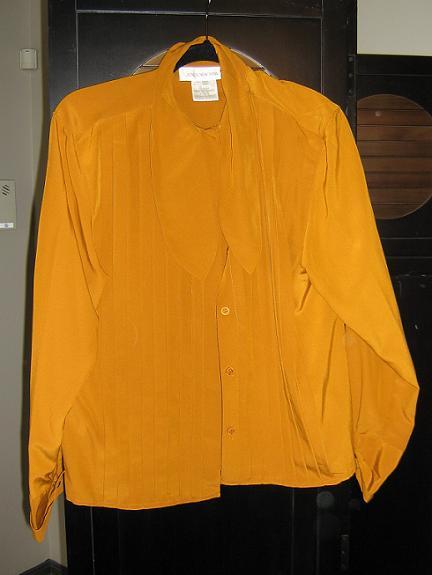 |
| Before |
When you select your blouse, size is irrelevant. This one happens to be a size 6, which is much too small for me. It even had a stain on the sleeve. Because I only used the collar and shoulders of the blouse, as long as it fits your neck it will work.
- Cut off the sleeves at the seams.
- Measure the blouse approximately 6 inches to 8 inches down from the peak of the shoulder and mark it all the way across the front and back.
- Once your measurements are marked, cut the blouse straight across the front and back.
- Cut at the seam under each arm.
- Trim as needed.
 |
| After |

I created two collars in about 30 minutes today. These new accessories will be making an appearance in 30 for 30 soon.
Photo Credit: NY Magazine online

